
Table of Contents
What is sauerkraut?
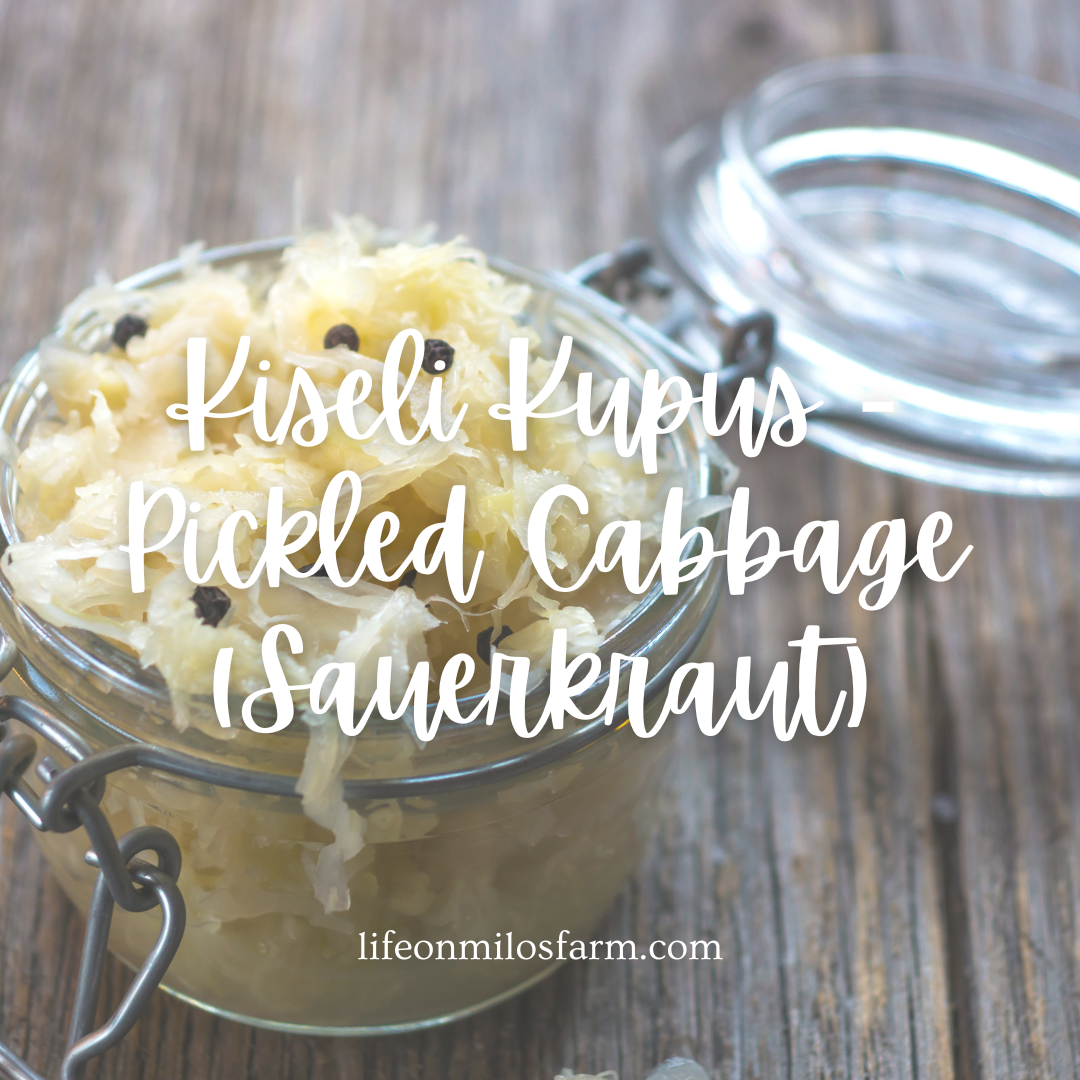
Sauerkraut, a delicious, gut-friendly and tangy treat, has been enjoyed in various cultures for centuries. This traditional dish, made of fermented cabbage, offers multiple health benefits such as improving digestion, boosting the immune system, and promoting a healthy gut.
Making sauerkraut at home is not only cost-effective, but it also allows you to experiment with flavors, making it unique to your taste buds. In this blog post, I will guide you through the simple yet rewarding process of pickling and fermenting cabbage to create homemade sauerkraut!
Sauerkraut in my family
My favourite time of year in Victoria used to be when it was time to make kupus. You knew it was getting colder because suddenly dad would bring in this gigantic barrel and about 20 full cabbages and this rock that was only used at cabbage time, and this plate that was the perfect sized random plate for the barrel.
This was the way.
I probably never appreciated doing this until I started getting older and most importantly when I started feeling the need to connect with my heritage through food.
Living in QLD though where the weather is subtropical, doing kupus can be problematic for a number of reasons. The window of cold opportunity is much smaller, and I’ve had to resort to using a fermentation bucket specifically to accommodate for the extra moisture in the air.
Of course, in Victoria, we didn’t need any of this. It was just salt, water and cold. Mould growth was minimal and was easily scraped off the top. In QLD, mould growth can happen quickly, spoiling your batch.
Recently I started using this vessel specifically and I have made 4 successful batches. I’m not super keen on the smell of the culture, but it has ensured the success of each batch, so I’m willing to forgive the culture in this regard.
So, depending on where you are, I will give you the variation to the recipe using both methods. Both work well and make fantastic sauerkraut. And once you learn how easy it is, you’ll never need to buy store bought again!
How to make sauerkraut – 2 ways!
What You Will Need
1. A fresh, medium-sized head of cabbage (approximately 3-5kgs.)
2. 1-2 tablespoons of non-iodized salt (preferably sea salt or kosher salt)
3. A large mixing bowl
4. A sharp knife and cutting board
5. A pounder, wooden spoon, or your hands
6. A clean 1L glass jar with an airlock, or use a food-safe plastic bag for sealing
7. Optional additions: spices, herbs, or fruits for added flavor
Step-by-Step Process for sliced cabbage
1. Prepare Your Cabbage: Begin by removing the outer leaves of the cabbage, reserving them for later use. Rinse the head of cabbage under cold water and pat dry. Cut the cabbage into quarters and remove the core. Then, slice the cabbage into thin shreds – the thinner, the better!
2. Salt and Massage: In the large mixing bowl, add the shredded cabbage and start sprinkling the non-iodized salt little by little, mixing and massaging the cabbage as you go. This will draw out moisture and soften the cabbage while the salt helps to prevent the growth of unwanted bacteria. After approximately 5-10 minutes, the cabbage will have released a significant amount of liquid and appears wilted.
3. Optional Flavour Additions: If desired, add your choice of herbs, spices, or fruits to the cabbage in the mixing bowl. Some popular choices include caraway seeds, juniper berries, garlic, or apples. Mix well to ensure even distribution.
4. Pack and Compress: Begin packing the cabbage mixture into the glass jar, pushing it down tightly to remove air pockets and allow the liquid to cover the cabbage. Use the pounder or wooden spoon to compress the cabbage tightly into the jar, allowing at least 1-2cm of headspace for the fermentation process. Place the reserved cabbage leaf at the top of the jar to create a barrier between the air and the shredded cabbage.
5. Seal Your Jar: If using an airlock, secure it according to the instructions provided. If not, cover the top of your jar tightly with a food-safe plastic bag or gauze cloth (like a cheesecloth) and secure it with a rubber band or twine. The goal is to minimize contact with air while allowing any gases produced during fermentation to escape.
6. Fermentation Process: Store the jar in a dark, cool place (between 15-20°C) for 2-4 weeks. Check on your sauerkraut every few days, pushing down the cabbage if needed to keep it submerged in the liquid. You may notice some bubbling or a slightly sour smell – that’s a sign that fermentation is occurring!
7. Taste and Refrigerate: After 2 weeks, taste your sauerkraut. If it’s tangy and sour enough for your liking, transfer the jar to the refrigerator to slow down the fermentation process. If you prefer a stronger flavor, leave it to ferment for another 1-2 weeks before refrigerating.
Step-By-Step Process for whole cabbage
1. Prepare Your Cabbage: Begin by removing the outer leaves of the cabbage, reserving them for later use. Rinse the head of cabbage under cold water and pat dry.
2. Core and salt: Using a sharp small knife or pairing knife, cut the core out of the cabbage and fill it with salt. Stack these whole cabbages core/salt side up, trying to leave as little space as possible. As you stack your cabbage higher inside the barrel, you can opt to have one or two cut up in quarters that you use to full any gaps.
3. After you’ve stacked your cabbage as high as you can go, fill the bucket with clean filtered water so the cabbages are all covered. Cover the top of the cabbage with a clean plate and then a rock or weight of some kind. This is to keep the cabbage from rising up or getting above the water level.
4. Cover your barrel with a screw on lid but only tighten it once around. The lid needs to sit loosely on so that air and gasses from the fermentation process can escape.
5. Fermentation Process: Store the barrel in a dark, cool place (between 15-20°C) for 2-4 weeks. Check on your sauerkraut every few days, pushing down the cabbage if needed to keep it submerged in the liquid. You may notice some bubbling or a slightly sour smell – that’s a sign that fermentation is occurring!
6. Taste and Refrigerate: After 2 weeks, taste your sauerkraut. If it’s tangy and sour enough for your liking, you can now start bagging the pickled cabbages. Bagging them in freezer safe bags is perfect because they keep for ages and you can use the for an array of dishes. Our sarma recipe is a traditional Balkan recipe that uses whole cabbage leave, but you can still use shredded or sliced cabbage for sarma also.
Pickling variations – Salt only


Kupus (Kiseli) - Pickled Sauerkraut
16
servings30
minutesIngredients
Whole cabbage, sliced with mandolin
Salt
Directions
- Using a mandolin, slice cabbage thinly into thin slices as shown in the picture.
- I grab two handfuls, put it into the glass jar, and then salt it with 2 tbsps salt.
- With something heavy and wooden (like my rolling pin pictured), bash the cabbage until it starts releasing fluid. Fluid should start to come up the sides and almost cover the section.
- Once you've bashed it enough, grab another two handfuls, another 2 tbsp of salt and repeat the process.
- Do this until the jar/vessel is full. Add some fresh cold water if needed to cover the cabbage.
- Using a small plate and clean rock or other slightly heavy object, submerge the plate to just under the level of water at the top. It's best to use a jar/vessel that doesn't go narrow at the top but rather, is the same width at the top and bottom so that you can put something heavy to submerge it. Submerging the cabbage ensures it will ferment properly and not get mould spores from the air.
- Cover with a cheese cloth and close the lid (but do not fasten the lid, just close it so that air may still come in and out).
- Leave it in a warm dry place for 7-10 days. The longer you leave it the more sour it will be. I suggest also wrapping a towel around if using a glass jar.
- Once it reaches desired sourness, remove plate and rock and place the cabbage in the fridge. This is now safe to eat as is, fried with bacon or used in any other interesting way!
Check out the link to our Instagram page below, where we also have a video on the process!
Pickling variations – Salt and culture


Kiseli Kupus - Pickled Sauerkraut using culture
16
servings30
minutesIngredients
Cabbage whole, sliced with mandolin
Salt
Live fermenting culture
Directions
- Using a mandolin, slice cabbage thickly into slices as shown in the picture. You can also hand slice if you think you'll get nice even pieces.
- Using a large stainless steel bowl, toss about a half cup of salt to half a sliced cabbage. Toss and coat well.
- Taste before moving to the next step. it should be salty enough that it makes you eyes squint a little, but not so much that you're smacking your lips.
- OPTIONAL: You can choose to bash this cabbage but it is not necessary. Bashing will remove the crunch. With something heavy and wooden (like a rolling pin), bash the cabbage until it starts releasing fluid. Fluid should start to come up the sides and almost cover the section.
- Using a fermentation system, (I use the 2.2 litre with grate and vent from Green Living Australia, linked here), fill the cabbage to approximately 1cm off the top.
- To some cold water, add the required amount of culture. The culture is provided with the kit usually, but if you want to buy it separately, this is what I use - Probiotic Vegetable & Dairy Culture
- Add water to the level of the grate and cover it with the lid that has the valve.
- Leave it in a warm dry place for 7-10 days. The longer you leave it the more sour it will be. I suggest also wrapping a towel around if using a glass jar.
- Once it reaches desired sourness, remove the vented lid and replace it with the regular lid and place the cabbage in the fridge. This is now safe to eat as is, fried with bacon or used in any other interesting way!
Check out the link to our Instagram page below!
Creating homemade fermented cabbage, or sauerkraut, is a wonderful way to preserve and enjoy the health benefits of cabbage whilst adding bold flavor and tanginess to your meals. It accentuates dishes like hot dogs, sandwiches, salads, or as a simple side dish.
The best part? Making sauerkraut at home is both simple and cost-effective. So, here’s to experimenting with fermentation and creating your own unique sauerkraut to share with friends and family!
Our other pickling recipes and blog posts
20 Best Vegetables For Canning (and pickling!) – Life on Milo’s Farm (lifeonmilosfarm.com)
Canned & Pickled Jalapeno Slices – Life on Milo’s Farm (lifeonmilosfarm.com)
Pin it!


One thought on “The Art of Pickling Cabbage – A Step-by-Step Guide to Making Sauerkraut (Kiseli Kupus)”
Comments are closed.